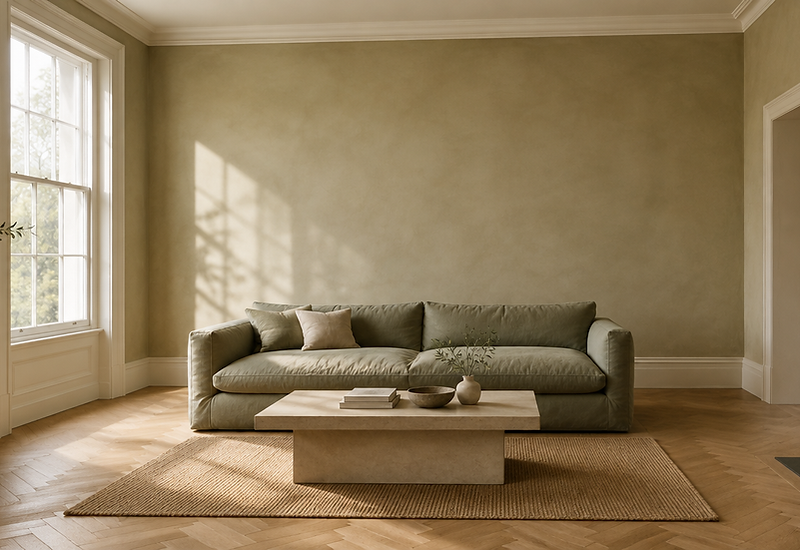
Colour, carefully applied.
Interior and exterior painting for Ottawa homes and businesses, from prep to final coat.
Most of a good finish is decided before the first coat.A wall that has been patched and sanded holds light evenly.Colour belongs in the room, seen at different hours of the day.
A painted wall is only as good as what sits under it. We begin by finding the problems: hairline cracks above door frames, nail pops in older drywall, soft spots where a window has leaked, the ridge of paint left by an earlier job. Each one is treated differently, and each one shows through a finish if it is ignored.
Patching comes next. Holes are filled and feathered so the repair meets the existing plane of the wall. Cracks are opened slightly before filling, because a crack filled on the surface will open again as the house moves. Skim coats go on thin, then sand back to a flat surface under a raking light.
Sanding is where the finish starts to feel right. It takes the raised grain off trim, dulls a glossy surface enough for the next coat to grip, and blends repairs into their surroundings. Dust is removed before anything is painted.
Caulking closes the gaps that paint alone cannot. Where trim meets wall, where a casing meets a jamb, along the seam between a baseboard and a floor, a flexible bead keeps the line clean and stops air and moisture from getting behind the paint.
Priming does two jobs. On bare drywall and patched areas it seals the surface so the topcoat dries evenly. On existing paint it provides a bond between an old finish and a new one. Then we protect: floors covered, furniture moved and wrapped, hardware removed or taped, doorways masked.

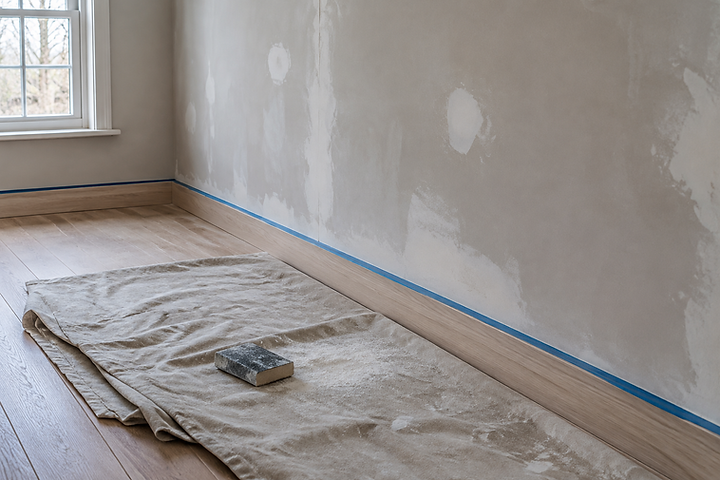
Most of a good finish happens before the first coat.
Preparation is the part of the work you cannot see later, and the part that decides how the surface reads in daylight.
Consultation and walkthrough
We visit, look at the surfaces, and talk about how the space is used.
Colour and product selection
Samples in the room, then the products and sheens that suit each surface.
Preparation and painting
Repairs, sanding, priming, masking, then the coats in sequence.
Final walkthrough and touch ups
We walk the work together and correct anything that is not right.
Ottawa decides the schedule more than we do.
Exterior work belongs in the warmer months. Paint and stain need air and surface temperatures inside the range printed on the manufacturer data sheet, with enough dry time before dew or rain. In Ottawa that window usually opens in late spring and closes in early autumn, and the edges of it are unpredictable.
We watch the forecast rather than the calendar. A cool night after a warm day can leave a film of moisture on siding that will spoil adhesion, so we start later in the morning when the surface has had time to dry. Spring and autumn work sometimes needs to be split around weather.
Interior work runs all year. Winter is a good time for rooms that are hard to empty in summer, and the furnace running means we pay attention to ventilation and to how quickly a coat skins over in dry air.

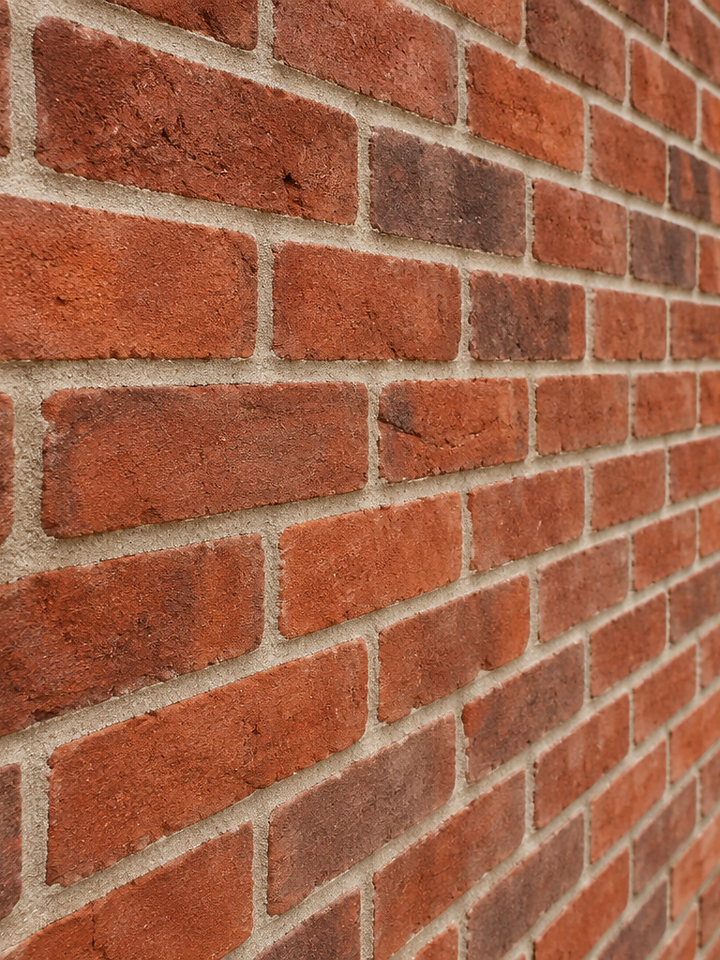
Brick and masonry are assessed for moisture and previous coatings before a coating is recommended.
We work across Ottawa. These are the neighbourhoods we are asked about most often.
- House painters in Kanata
- House painters in Nepean
- House painters in Barrhaven
- House painters in Orleans
- House painters in Gloucester
- House painters in Stittsville
- House painters in Westboro
- House painters in Centretown
- House painters in Manotick
- House painters in Vanier
- House painters in The Glebe
- House painters in Rockcliffe Park
Tell us about the space.
We reply by email, usually with a few questions and a time to walk through the work in person. Cost depends on the project, so we quote after we have seen it.
Request a consultation
Tell us a little about the space and the work. We reply by email with next steps and a time to walk through the project.